This post is about how to customize your Showit template.
01. Updating Colors and Fonts
When you start working on customizing your Showit template, a good idea is to start with your branding. Let’s look at how to customize your brand colors on Showit.
Changing The Color Palette to Match Your Brand
You want to change your color palette to match your branding. Here’s how I do it.
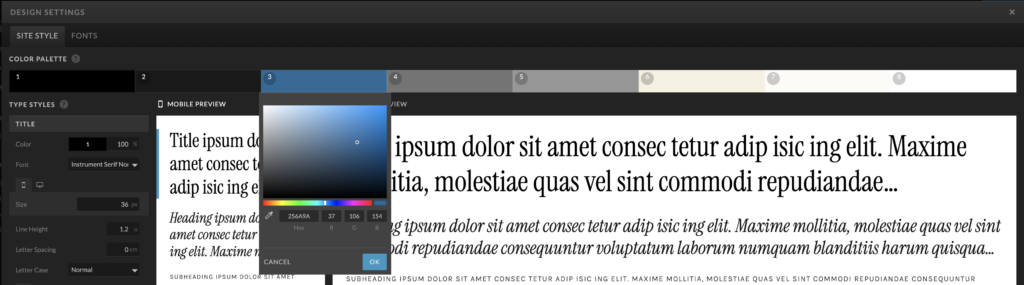
First, head over to your design settings on Showit.
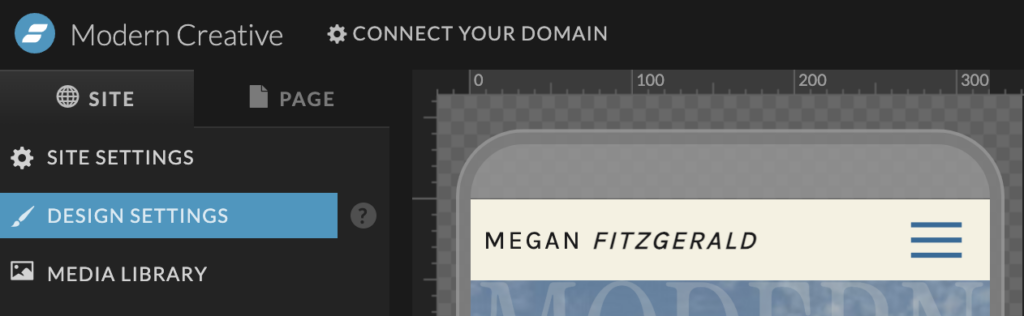
Then, choose the color you want to edit.
Add your hex code, and that’s it.
Selecting and Applying New Fonts for Headings and Body Text
Next, let’s look at adding new fonts and applying them to customize your title, headings, and paragraph font styles.
First, you want to either choose a Google font and save it to your Showit font library.
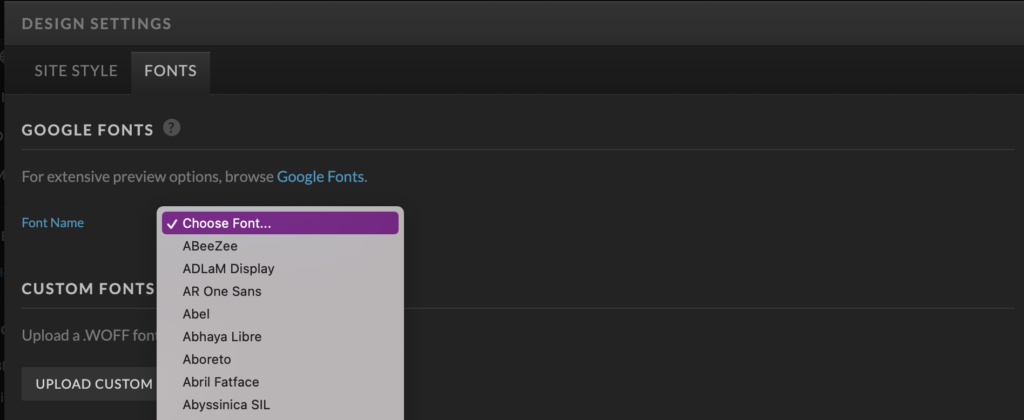
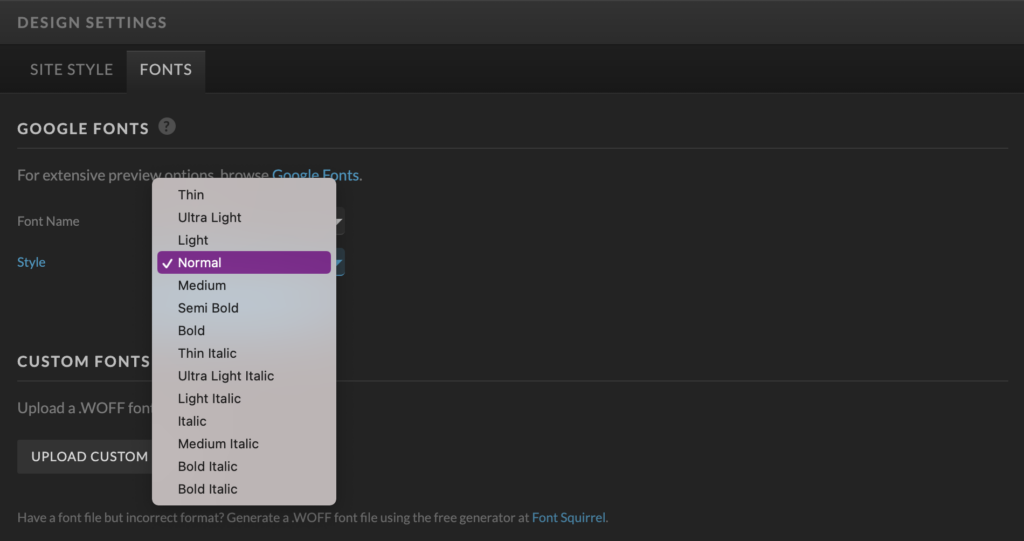
Head over to your fonts tab, choose the Google font you want to use, and save it to your active fonts. Make sure to choose the font weights you want to use.
For example, you might want a thicker font weight for the heading and a thinner font weight for the paragraphs.
PRO TIP: When you add fonts, only add the ones you will use in your design.
Here’s how you can do it if you want to add custom fonts instead.
First, head over to your favorite font shop. I like the following fonts shops for custom fonts.
- Creative Market
- Creative Fabrica
- Blanc Salvage
- Jen Wagner
Once you’ve bought your fonts, you must change the file type from .otf or .ttf to .woff files.
You can do this by heading over to Creative Fabrica’s web font generator.
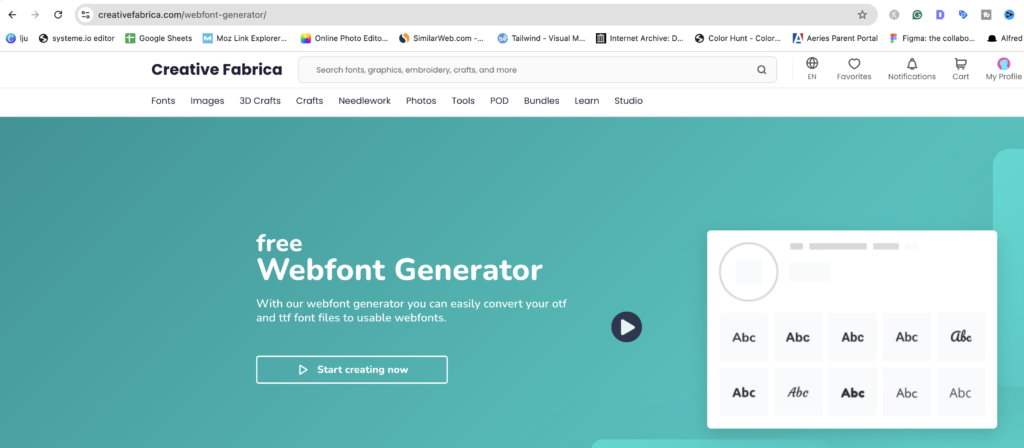
Simply follow the steps by uploading your .otf or .tt file, using the software to transform it to a .woff file, unzipping it on your computer, and choosing to upload the .woff file to Showit.
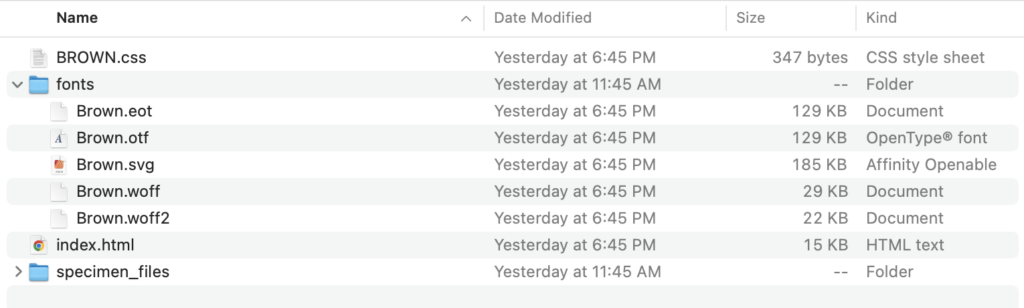
Then, you only want to name and save the font to your fonts on Showit.
Now, you’re ready to use the font.
Next, let’s look at how to use the fonts in your title, headings, and paragraphs.
Head back over to your site styles and start customizing your font site styles.
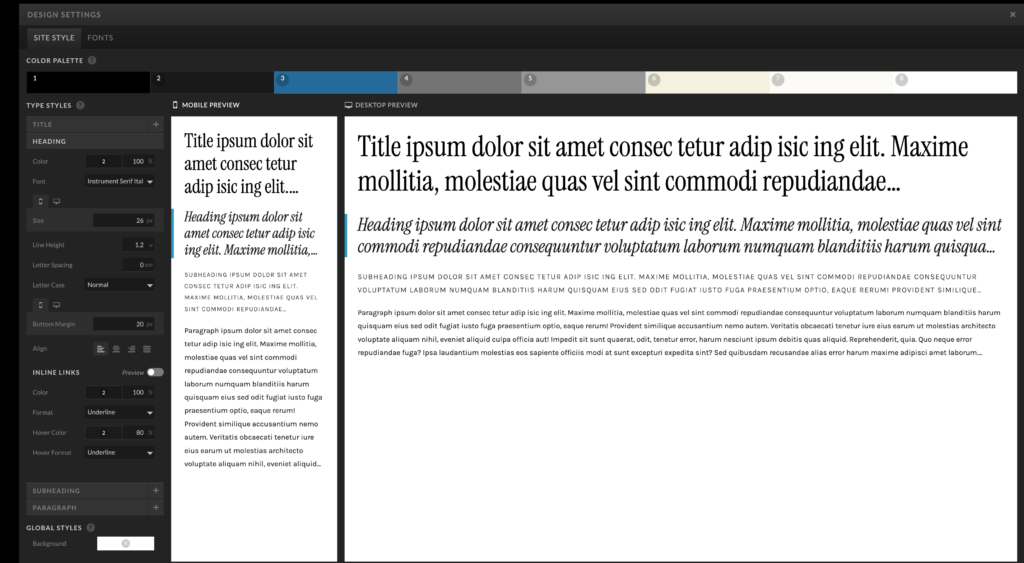
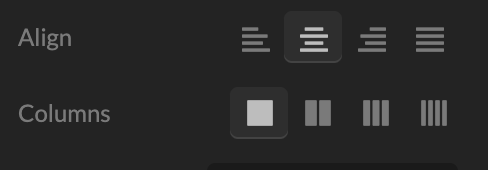
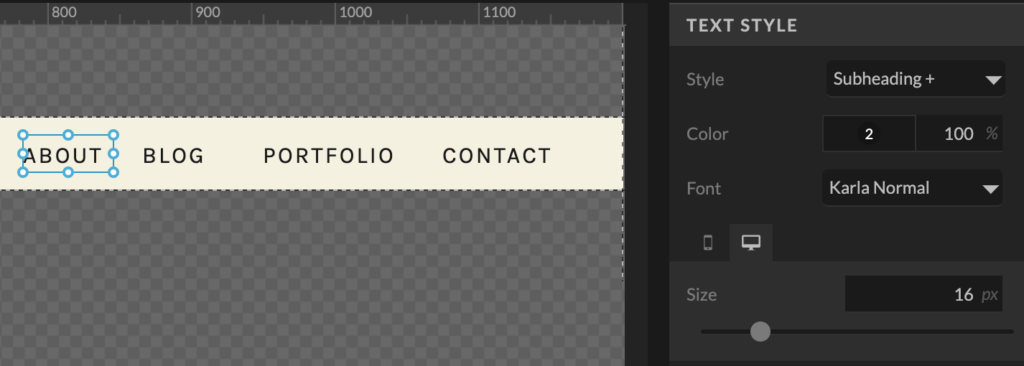
On your left toolbar, you can customize your font site styles. You can choose the size, letter spacing, color, alignment, and all the other settings Showit has provided for us to use.
Next, let’s look at how to personalize images and add graphics to customize your Showit template.
02. Personalizing Images and Graphics
Photos are probably the second most important thing you need to customize your Showit template.
Replacing Template Images With Your Photos
To add your photos to Showit, first go to media settings. Create a custom folder and upload the images you want to use.
Then, you can start using the photos on each page canvas or the size canvas you want.
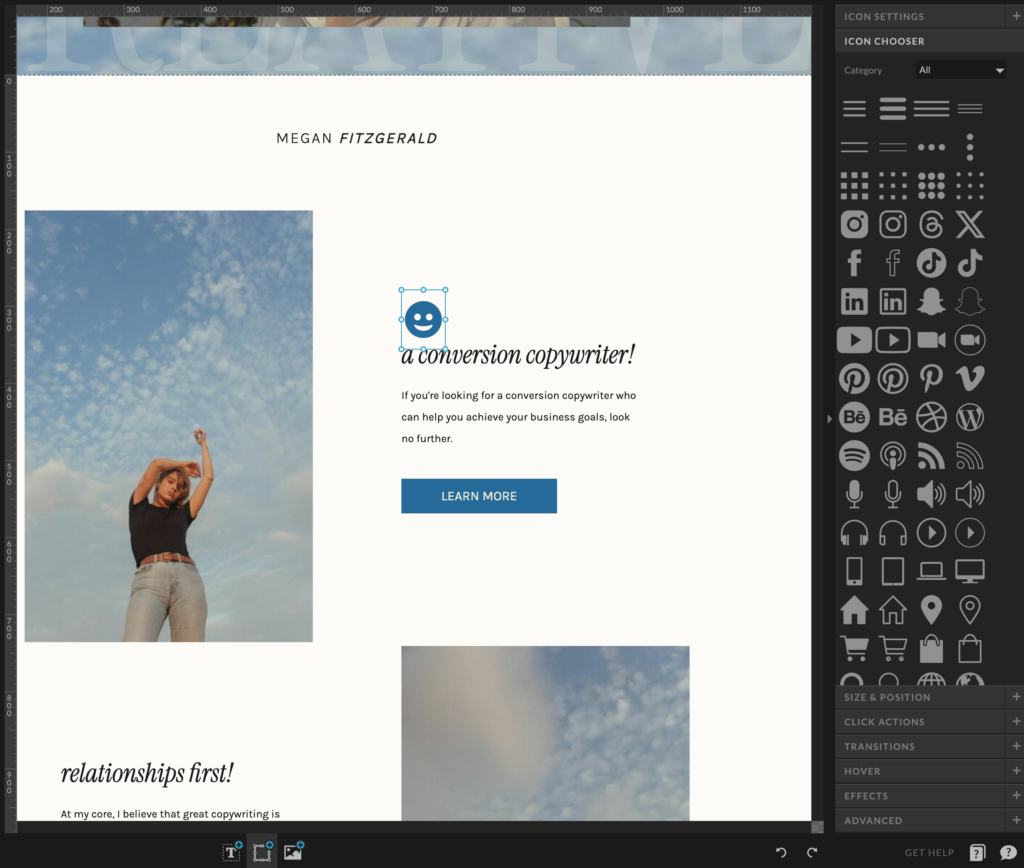
Adding Custom Graphics and Icons
To add custom graphics, create a graphics image folder in your media settings, upload your graphics to that folder, and use them in your selected page or site canvases.
You can choose to use Showit’s icons or upload your own icons as images to Showit.
3. Modifying Layout and Structure
It’s time to get to the fun part of modifying our template layout. You can keep your template as is, but here’s how to change the layout.
Rearranging Sections to Suit Your Content
When you want to rearrange your sections, you can head to a page canvas and drag and drop them where you want them.
Adjusting Spacing and Alignment for a Unique Look
When you want to create some white space in your designs, you can adjust your spacing by dragging the size of your canvas from the left side.
To align elements where you want them, select them, size them on your right toolbar, and adjust accordingly.
4. Customizing Navigation and Menus
To customize your Showit template navigation and menus, follow the next steps.
Tailoring Menu Items to Your Site Structure
You can create whatever type of navigation menu you want on Showit. This is why I love designing in Showit so much! You have total and utter creative freedom to design anything you can dream about easily without coding.
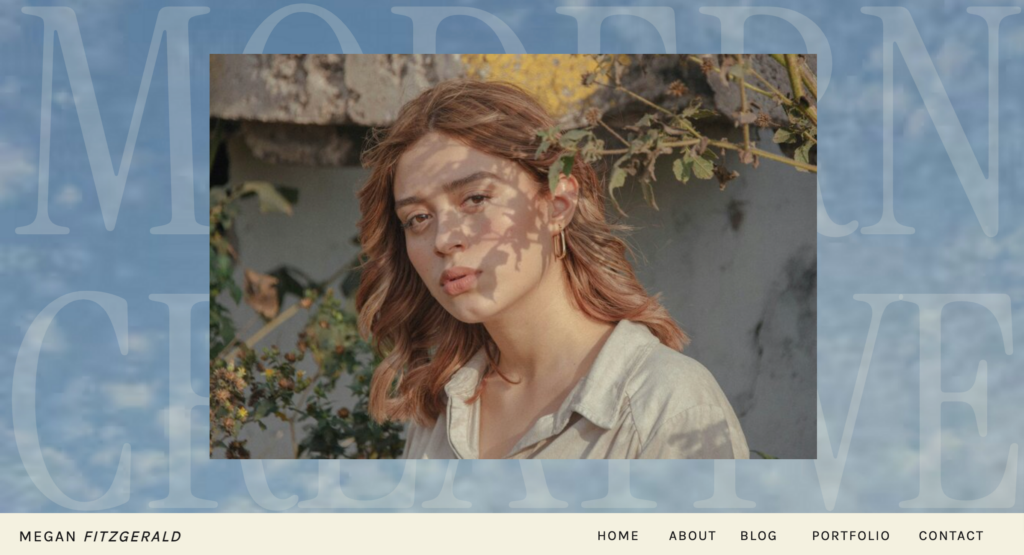
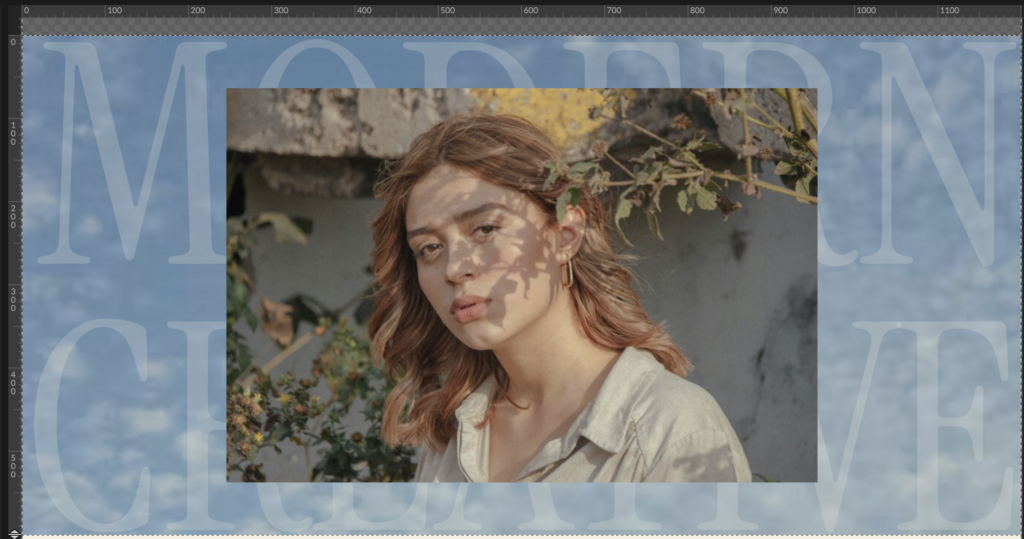
For example, using my modern creative template, you can see how I added the nav bar under the header as a fun design layout. If you want to move the nav bar above the header, all you have to do is drag it above on your left side to a bar.
Styling Navigation Elements to Fit Your Design
To style your navigation elements, you simply choose the elements you want to style and then use the right-side toolbar settings to customize the specific elements to your liking.
5. Adding Unique Features and Functionality
If you want to add unique features to your Showit template, you have some options.
Incorporating Custom Forms
To add a custom form to your Showit template, you can easily integrate any email marketing software you like, such as Convertkit, PDOW, or any other software you’d like to use.
You can add custom code by copying it from your favorite email marketing software. Here, I’m using Convertkit.
First, you want to add the custom code block to a page canvas.
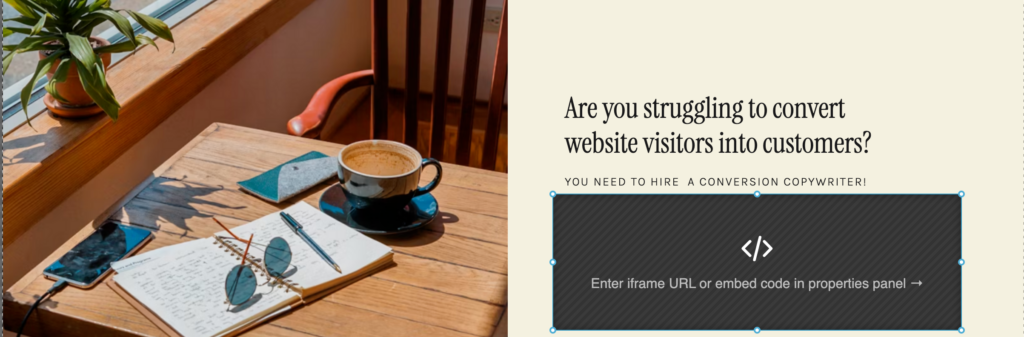
Next, you should head over to your email marketing software. I’m using KIT(formerly Convertkit). Add your HTML code to your custom code element on Showit. Save, and you’re done.
If you are using a Showit template with the Showit contact form in place. You can easily use it by setting up the form settings.
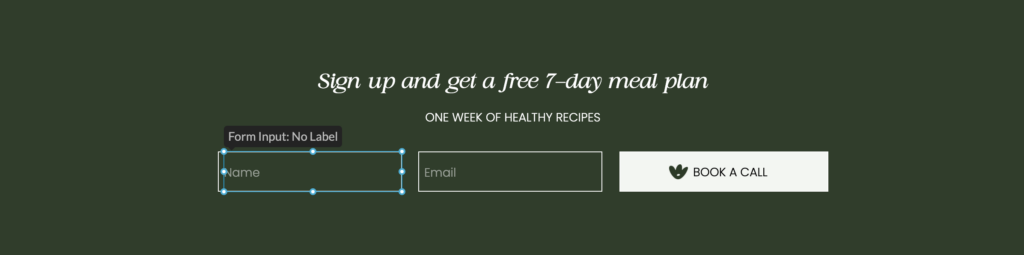
Click the form text. then you want to customize your form input settings on the right side toolbar.
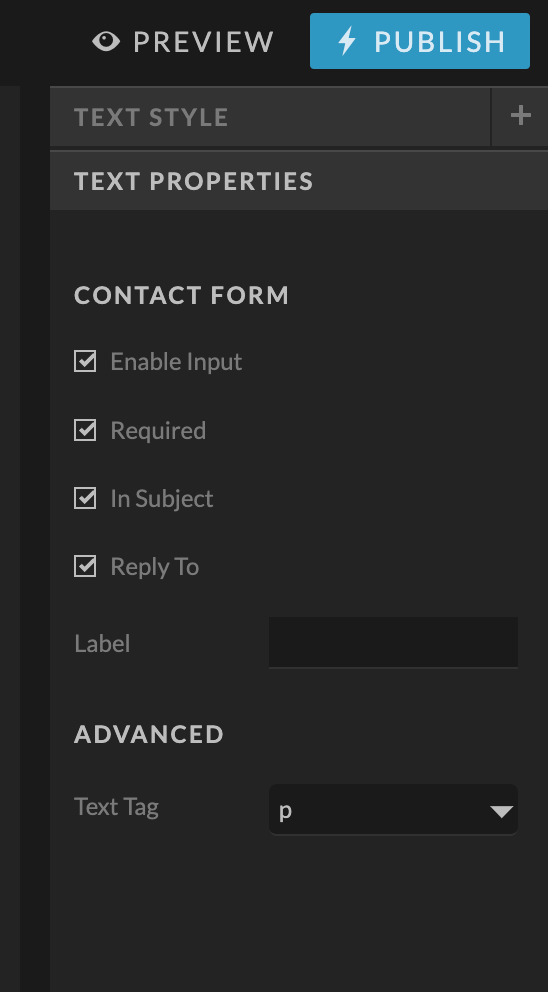
Customize the text properties by enabling the following settings:
- Enable input
- Required
- In subject
- Reply to
- Label
Check all these settings and add a name for your label accordingly.
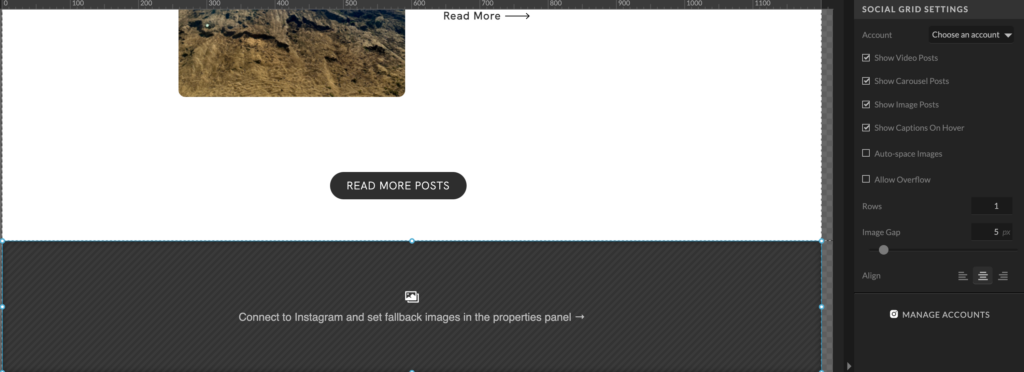
Integrating Social Media Feeds or Widgets
If you purchased one of my templates, it will include a social media grid. To use it, add the grid and connect your Instagram account to the right toolbar.
FAQ’S
How Do I Edit a Showit Template?
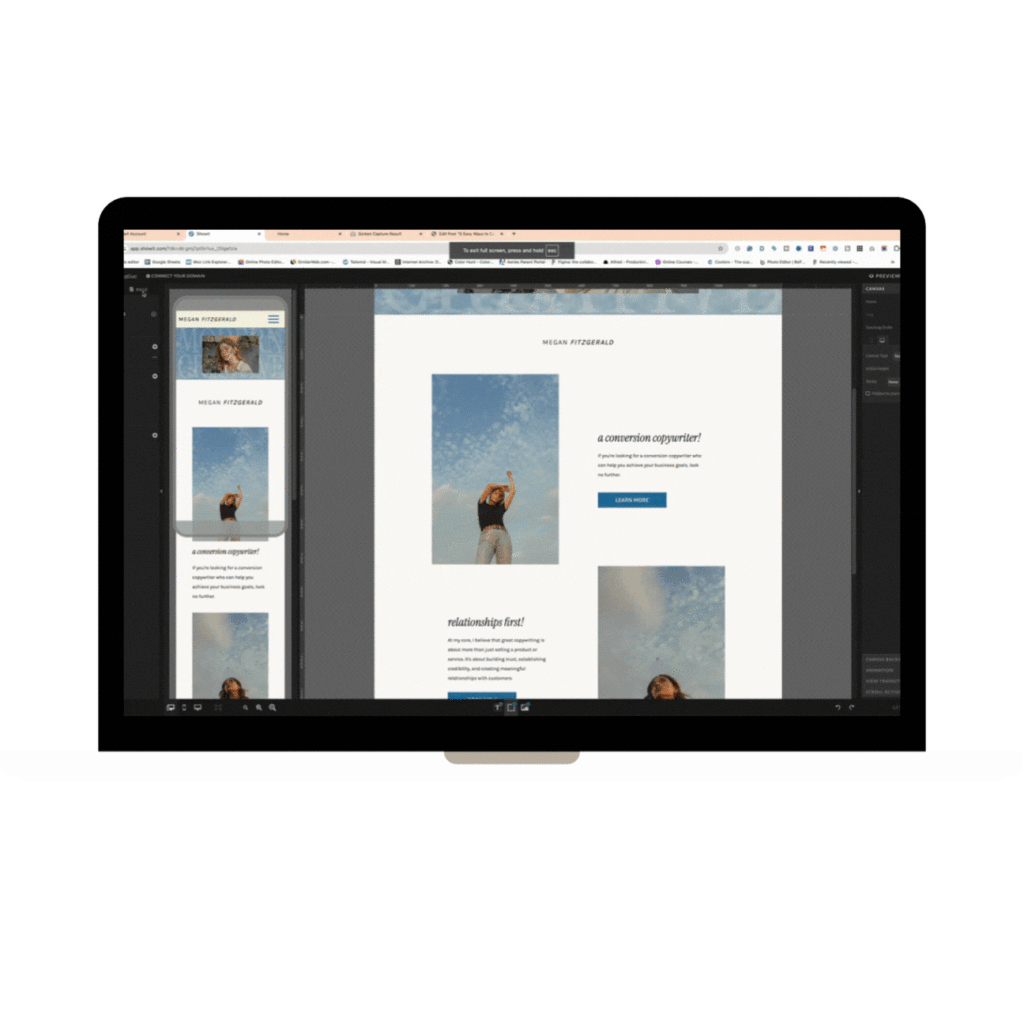
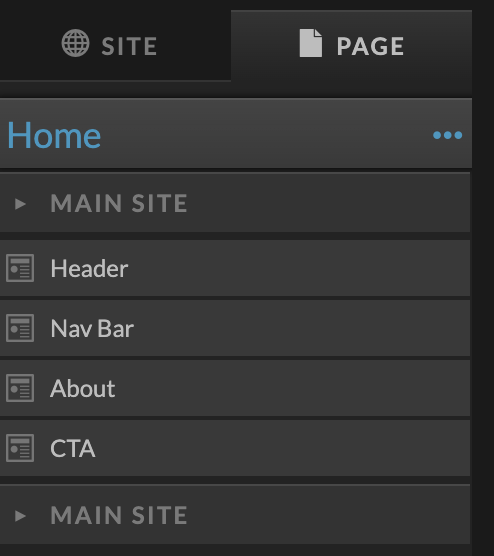
You edit a Showit template by customizing your site canvases, page canvases, and your page elements by using the right and left side toolbars to drag and drop elements.
Can You Customize a Website Template?
Yes, you can customize a website template on Showit. Showit is one of the easiest and most customizable website platforms out there, and that’s why I love It so much.
And I come from a coding background!
How Do You Start a New Design in Showit?
To start a new or blank design on Showit, you need to use a Showit “design key code.” Once you have one, you can add it to your Showit website and start designing your brand-new website.
How Do I Add a Template to Showit?
The way to add a template to Showit is to use a “design key code.” First, you want to log in to your Showit account and add a new design. Then add the “design key code,” and Showit will populate a template in your Showit account.
To Wrap Things Up!
You can easily customize your Showit templates to represent example your brand vision. Showit is very user-friendly and easy to manage. You can add new and blank templates to Showit with simple design keys.
Your Showit template can be customized so much. I encourage you to try Showit templates and get to designing.
I hope this helps!
Silva